


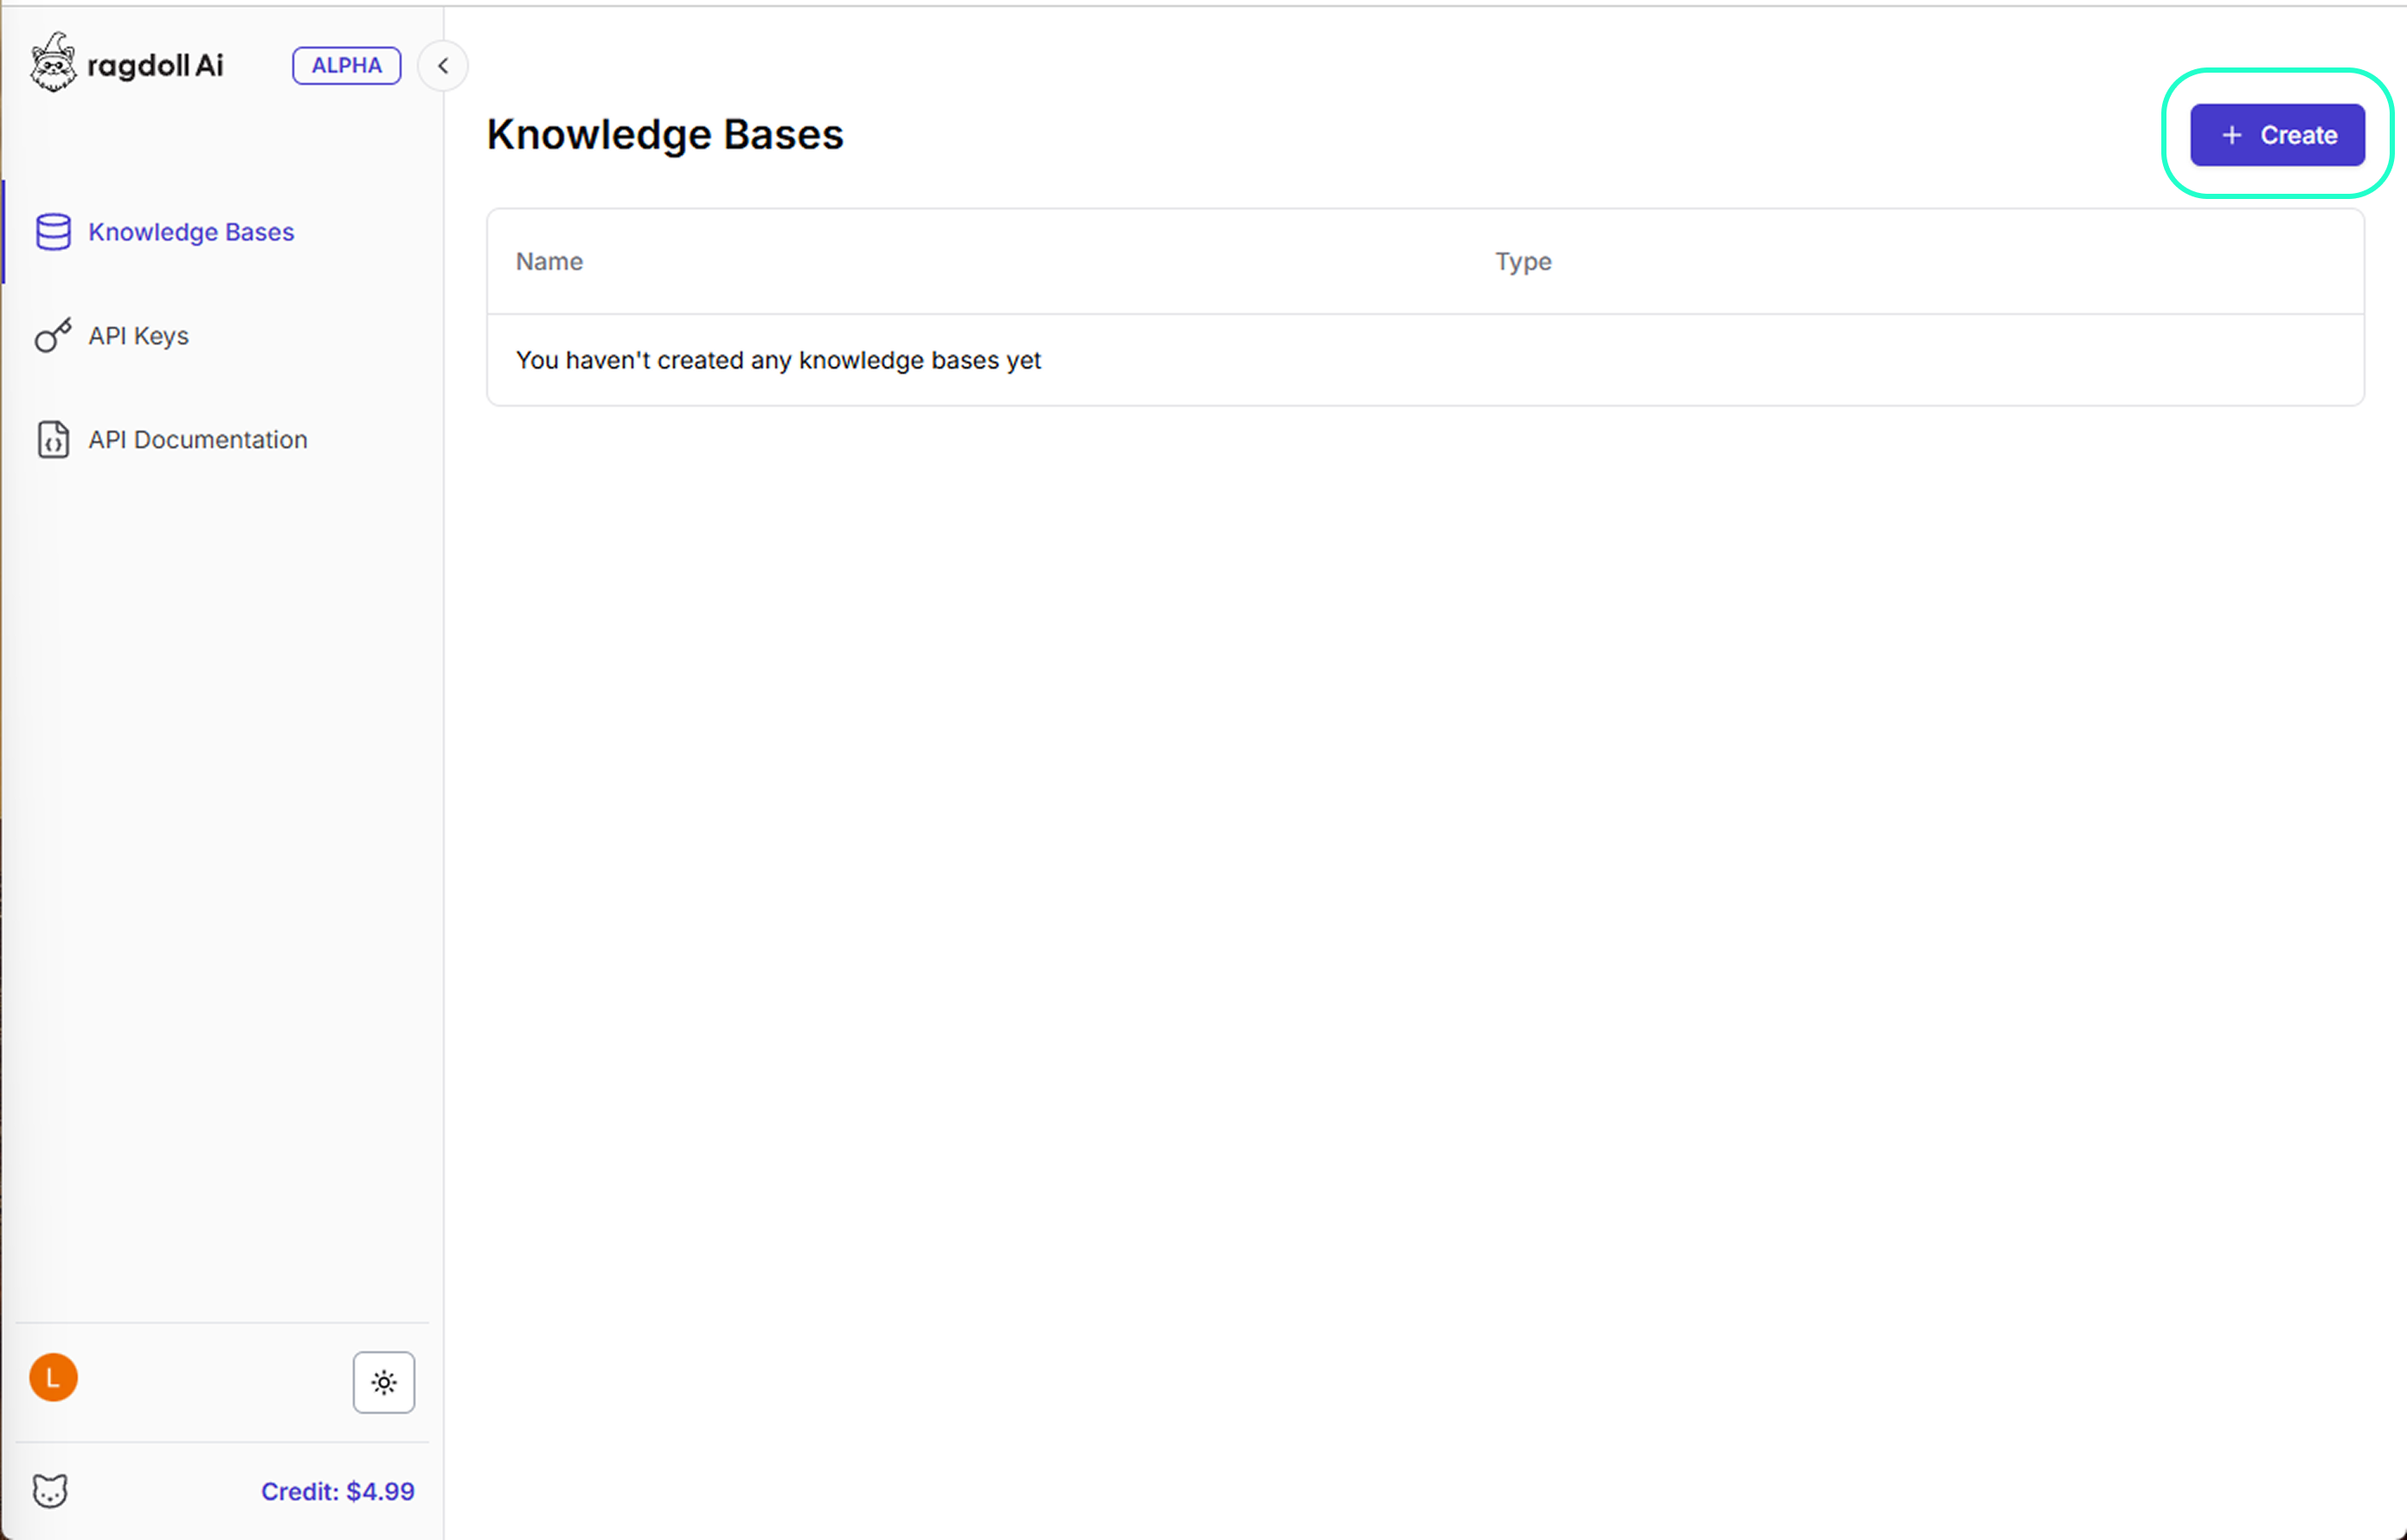
Setting up a knowledge base is simple. Here’s a step by step guide to get your first knowledge base up and running from our no-code interface!
You will be prompted to specify a unique name for your knowledge base.
For the knowledge base type, you can choose between Vector RAG and LightRAG:• Vector RAG is an excellent starting point for most RAG projects.• LightRAG offers a more advanced, hybrid approach that combines the strengths of GraphRAG and Vector RAG.
If you're unsure which type to select, refer to our detailed guide on Vector vs. LightRAG for further insights.

With your knowledge base created, it’s time to add content!
To upload files, navigate to the “Documents” tab and click “Upload”. You can either drag and drop your files or click to browse and select them manually.


Once the files are uploaded, they will initially appear with a “Pending” status. To convert these files into indexed knowledge, click “Start Indexing”. Your document status will change to “Indexed” once indexing is complete.

Remember to re-index whenever you make changes to your knowledge base content. Don’t worry—only new or updated documents will be indexed, so you won’t incur unnecessary processing costs!
Apart from uploading files, you can also choose to connect data sources to your knowledge base. We currently provide connections to Notion, Google Drive, and websites.


For step-by-step instructions on connecting a web crawler, Notion, or Google Drive, refer to the dedicated guides linked.

Once the data source is connected , they will initially appear with a “Pending” status. To convert it into indexed knowledge, click “Start Syncing”. Your data source status will change to “Indexed” once indexing is complete.

If you wish to refresh a single data connection, click on the “more” menu to select “Sync now” for the specific data connection.
If you wish to refresh all data sources, click “Start Syncing” at the bottom of the screen.
With your knowledge uploaded, connected, and indexed, you are ready to test it at the sandbox!

The Sandbox is made up of three columns.
The first column houses settings related to chat generation and knowledge retrieval.
The second column displays the knowledge retrieved, based on the user query inputted in the chatbox.
The third column is the chat interface where you can ask questions and chat with the knowledge base.

You can experiment with different system prompts, tweak the chat temperature, and adjust the max tokens limit for the native chat generation to review the different outputs.

You can toggle on or off Reranking and adjust the Top K number for your retrievals.
With the above steps completed, you now have a knowledge base that’s ready for use!

We also walk through how to integrate Ragdoll AI with some popular applications below:

